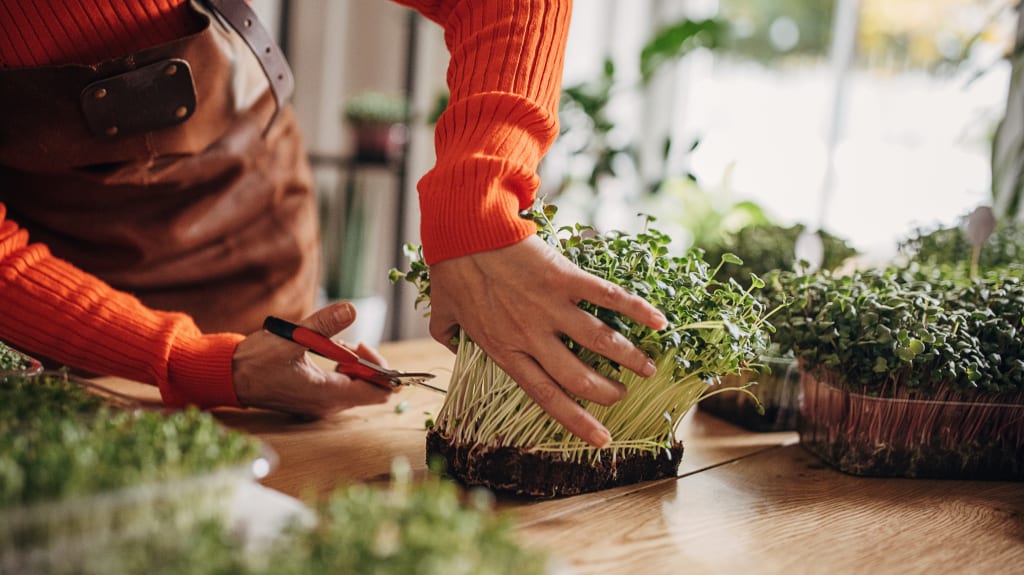
Microgreens are a great source of nutrition and can be grown 12 months a year. Plus, they're tasty and easy to grow at home. But where do you start if you don't have a green thumb? Here are some foolproof tips.
Understanding the lingo

Before you can become an expert, you need to understand some of the terminology. What are microgreens, anyway?
According to the Government of Quebec (link in French only, 2023), "microgreens come from seeds that germinate in soil or on synthetic fabric. We eat the plant's shoots, not the roots. Certain varieties are ready to eat after one week, while others can take up to three weeks. It's important to use soil or synthetic fabric with a fertilizer to ensure the shoots grow, because there aren't enough nutrients in the seed. You'll also need a natural or artificial light source."
Seeds, soil, water and light: that's all you need to get started. You also need to know the difference between sprouts and shoots. The two are often confused, but they're far from the same thing.
Shoots are seeds planted in soil that are harvested at a young stage. They're grown in soil, like seedlings. These microgreens are used to enhance the flavour of dishes like salads and sandwiches, and for presentation. Plus, they can help us digest certain foods more easily, considering that they're not mature.
Sprouts are grown in jars or sprouters without soil. They have less fiber than sprouts, and they're less crunchy and juicy.
Finding the right seeds

Ideally, the seeds you buy should be organic and sold for growing microgreens. Here are some varieties:
1. Vegetables and beans
Radish, kale, pea, beet, turnip, chive, watercress, broccoli
2. Grains
Buckwheat, rye, wheat
3. Grasses
Alfalfa, mustard, fenugreek, clover
4. Nuts and seeds
Sunflower, almond, sesame
EspaceProprio tip Find a local farm where you can buy microgreen seeds. Not only will you be buying local, but you can enjoy a tasty treat!
Growing and harvesting


Are you ready to try growing microgreens at home and show off your green thumb? Follow these steps to stack the odds in your favour:
Get all the tools you need: a spray bottle, aluminum trays, plastic bins or a tray, quality soil and containers where you'll keep the soil and seeds.
Set up your sprout station next to a window. They need daylight to grow.
Read the instructions on the seed package, as they may vary.
Place an aluminum tray (or plastic bin or tray) on your workstation. Place the containers on top.
Add soil to the containers. Be careful not to press too hard on the soil.
Put the seeds on top of the soil without pressing down.
Sprinkle a small amount of soil on top of the seeds.
Spray water on the surface twice a day. You'll soon see your shoots start to grow. Keep the soil moist by spraying water on the shoots every day until they're about six inches tall. This generally takes about a week.
Harvest your shoots by cutting them at the base with scissors and adding them to your dishes. Or you can store them in an airtight container in the fridge and use them within 10 days.
Compost the soil used.
For more EspaceProprio content, visit our Instagram account @espaceproprio.


